|
In this tutorial we will make a coffee cup out of polygons.
Select the Modeling section of Maya, choose from upper left, status line.

Select Create->Polygon Primitives->Cylinder->
Set the Axis to Y
Set the Radius to 2
Set the Height to 4
Set the Axis divisions to 10
Set the Height divisions to 3
Set the Cap divisions to 0
Select by component type  and make sure the faces button and make sure the faces button  is pushed in is pushed in
This will allow you to select faces.
Select the top face.
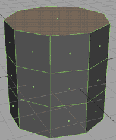
Select Edit Mesh->Extrude
Click the red box  of the extrude manipulator to change to scale mode. of the extrude manipulator to change to scale mode.
Select the box at the center of the manipulator and scale down the face a little.
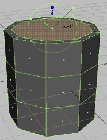
Select Edit Mesh->Extrude (again)
Click the blue arrow and pull the polygon face down into the cup close to the bottom.
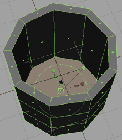
Select by component type 
Press the  button to show vertices or use the right mouse to select vertex. button to show vertices or use the right mouse to select vertex.
In the front view, drag to select around the second row of vertices.
Drag them up to just below the top edge with the move tool. 
Make sure you don't select extra vertices.
Drag a selection box around the third row of vertices.
Drag them down to just above the bottom edge. 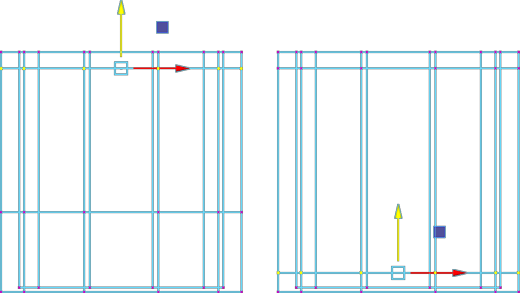
Go back to the perspective view and rotate the model until you are looking at a face perpendicular to an axis.
Select Mesh Tools->Multi-Cut
Find the face perpendicular to the Z axis.
Hold Shift and click on the left edge, drag down until the point snaps to the midpoint of the segment then release.
Now click on the right edge and drag down until the point snaps to the midpoint of the segment then release. Hit enter.
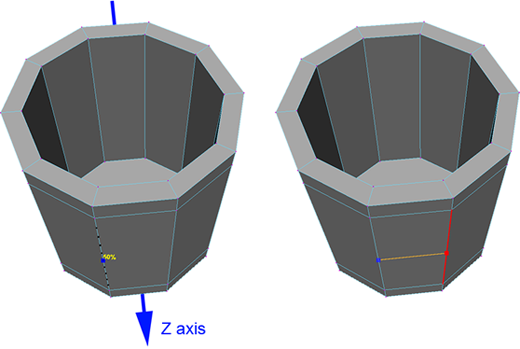
Choose the Select Tool to stop the Multi-Cut tool.

Turn on faces again by pressing component type  and the faces button and the faces button  . .
Select the two new faces
Select Edit Mesh->Extrude.
Click the red box  to switch to scale. to switch to scale.
Click Keep Faces Together to Off in the small dialog box.
Scale both faces down by using the light blue scale box icon.
Select another tool, such as the Move tool to stop this tool
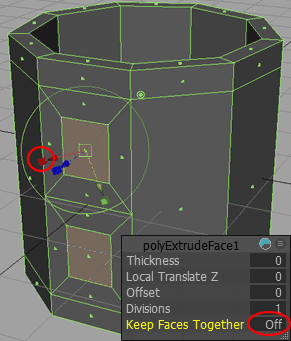
Deselect the bottom face (while holding shift)
Select Edit Mesh->Extrude. Pull the polygon out a little in the Z direction and click the blue circle to activate rotation and rotate the polygon forward and down a little.
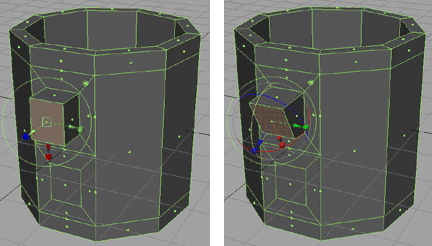
Extrude again and pull the polygon forward and rotate it forward a little.
Hit g hot key to run the tool again.
Extrude once more and rotate the face so that it is parallel with the grid, you may have to scale it a little so that it stays in proportion.
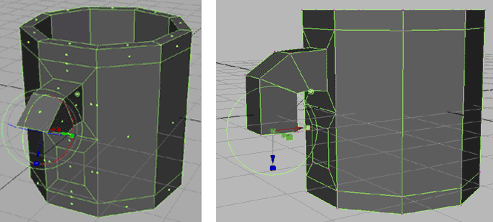
Extrude faces one more time and tilt the new face in towards the side of the cup. When you get it where you want it hit the delete key to remove the face at the end. We need to delete this face in order to stitch the cup handle back onto the cup body.
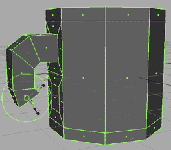
Lower Face
Select the face on the coffee cup where the handle will join the side of the cup and Extrude it out towards the handle. With the last face you just extruded still selected hit the delete key. Now we are ready to stitch the handle
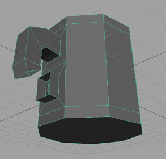
Select Mesh Tools->Target Weld
Use the left mouse to select a corner. Hold down the mouse and pull over to the edge you want to match up to. This also works with edges, etc.
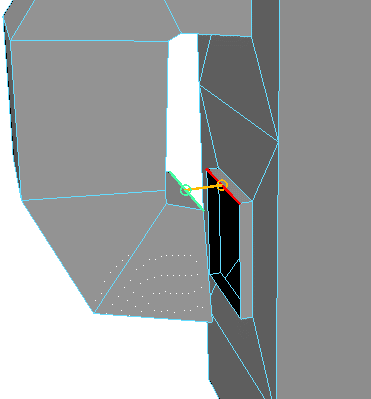
Now the rough body of the cup is complete. Move the points of the handle to get a more desirable shape.
Select your cup
Select Edit Mesh->Merge
Set Threshold to .0001
Select Mesh->Smooth to smooth your polygon shape.
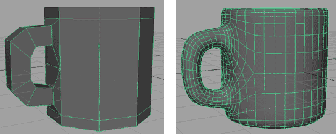

|